
You worked hard on that quilt, don't let it go unnoticed! Quilt labels don't have to look unprofessional, keep reading for a short tutorial on how to apply them to your quilt!
I looked everywhere for labels when I started quilting more regularly and couldn't find any that had the modern look that I wanted. So, I made some! And I thought, there must be someone else looking for tags, so without further ado...
Making Modern Quilt Labels
These free customizable quilt labels are available in 3 sizes and formats. Each label has a unique look and can be used in various ways.
>>If you'd rather not have to download fonts, check out the Premium Quilt Labels that have all the fonts preloaded in an easy-to-use template!
To start: Install the font, open a Microsoft Word document and from within Word open the PDF of Quilt Tags. It will automatically become an image, which you can resize depending on how large you would like your labels to be (mine are full page).
Insert a text box with transparent borders and background and type your name. Move it over the empty spot and voila! Modern quilt labels!

Print at Home Quilt Label 1
This version (pictured above) is a very traditional label. It's unique because many quilters applique their labels directly onto the quilt fabric. If you'd like a tag that doesn't do that.. this is the one for you! The font can be downloaded HERE).
Follow the directions above to fill in your name and then the printing directions below. Cut each label out on the lines provided. For these tags, you can hem each side, fold in half and sew onto your quilt OR sew another piece of fabric right-sides together to create a tube, press flat, fold in half, and then sew onto the quilt. Either will work!

Print at Home Quilt Label 2
These quilt labels can be directly appliqued onto a quilt backing or front. The font used for these tags can be found HERE.
If you'd prefer not to applique, you can also use permanent fabric glue to secure the tag. However, the edges may fray over time and with frequent washing.
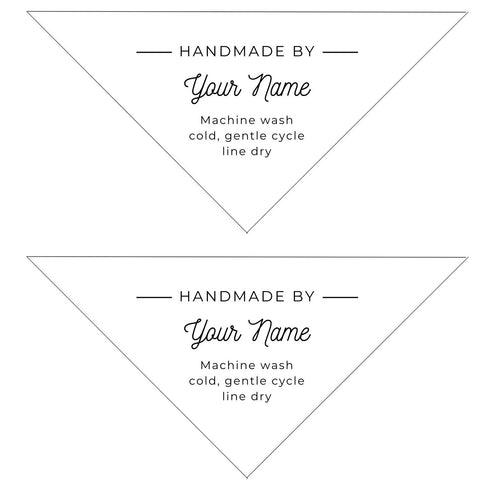
Print at Home Quilt Label 3
The corner tag! I thought I'd include these because some people LOVE corner labels. I haven't personally used a corner label, but who knows! I could convert and fall in love with them as well.
The signature font of this label can be downloaded HERE. I would cut 1/4" around the line to ensure enough room when appliqueing onto the quilt, unless fabric glue is used.
Does this look overwhelming? Try the Premium Labels that come with a template so you don't have to download fonts!!
Items needed:
-
Inkjet Printer
-
Iron and Ironing mat/board
-
Freezer Paper
-
Dye Fixative or vinegar
-
Washed and ironed light-colored fabric (100% Cotton) at least 8.5" X 11"
- Trace a standard piece of printer paper (8.5" X 11") onto the freezer paper. Cut the freezer paper on the line that you traced.
- Place the freezer paper, shiny side down on top of your light-colored fabric.
- On the cotton setting, iron the freezer paper onto the fabric until it sticks (a few seconds.)
- Using your ruler and rotary cutter, (or scissors) trim the ironed freezer paper (and fabric stuck to it) to the exact size of regular printer paper (8.5" X 11").
- The Freezer paper/fabric can be used in your printer as if it was printing paper.
- When printed, peel off the freezer paper and let dry for several hours (or days). Apply a dye setting wash or vinegar wash to set the dye, otherwise it may fade. I usually let the ink dry for a few hours, iron to set, spray with RIT ColorStay Dye Fixative, iron again, and then attach to the quilt.
TIPS AND TRICKS
The tags will fray on the edges unless the edges are folded over and appliqued onto the quilt. Others have had success using anti-fray glue on tags to seal edges.
The first set of Quilt Tags from the FREE DOWNLOAD have a longer format that can be hemmed on the sides and folded in half to create a more traditional quilt tag/label. As always, comment on what has worked for you!


10 comments
Paper/fabric completely jammed up in my printer even after I made sure they were very much laminated. Going to try something commercially prepared for print transfers. More expensive but will save my printer!
———
Quiltd Studios replied:
Yeah that happens to me every time as well, and then the third try magically works! There are fabric papers you can buy like you mentioned, definitely will work a little better for your printer!
@KATIE There is a youtube video on these! I just added the link to the top of the post!
@CYNDI KUHN To print labels at home, you’ll need an inkjet printer! I’ve never tried it with any other kind, but I think you need the ink to make these.
what kind of printer are you using to print these labels? In other words will this work with a laser printer?
These are awesome – I have always printed labels for my quilts and live the corner labels but have never tried – I will now. Thanks so much.