
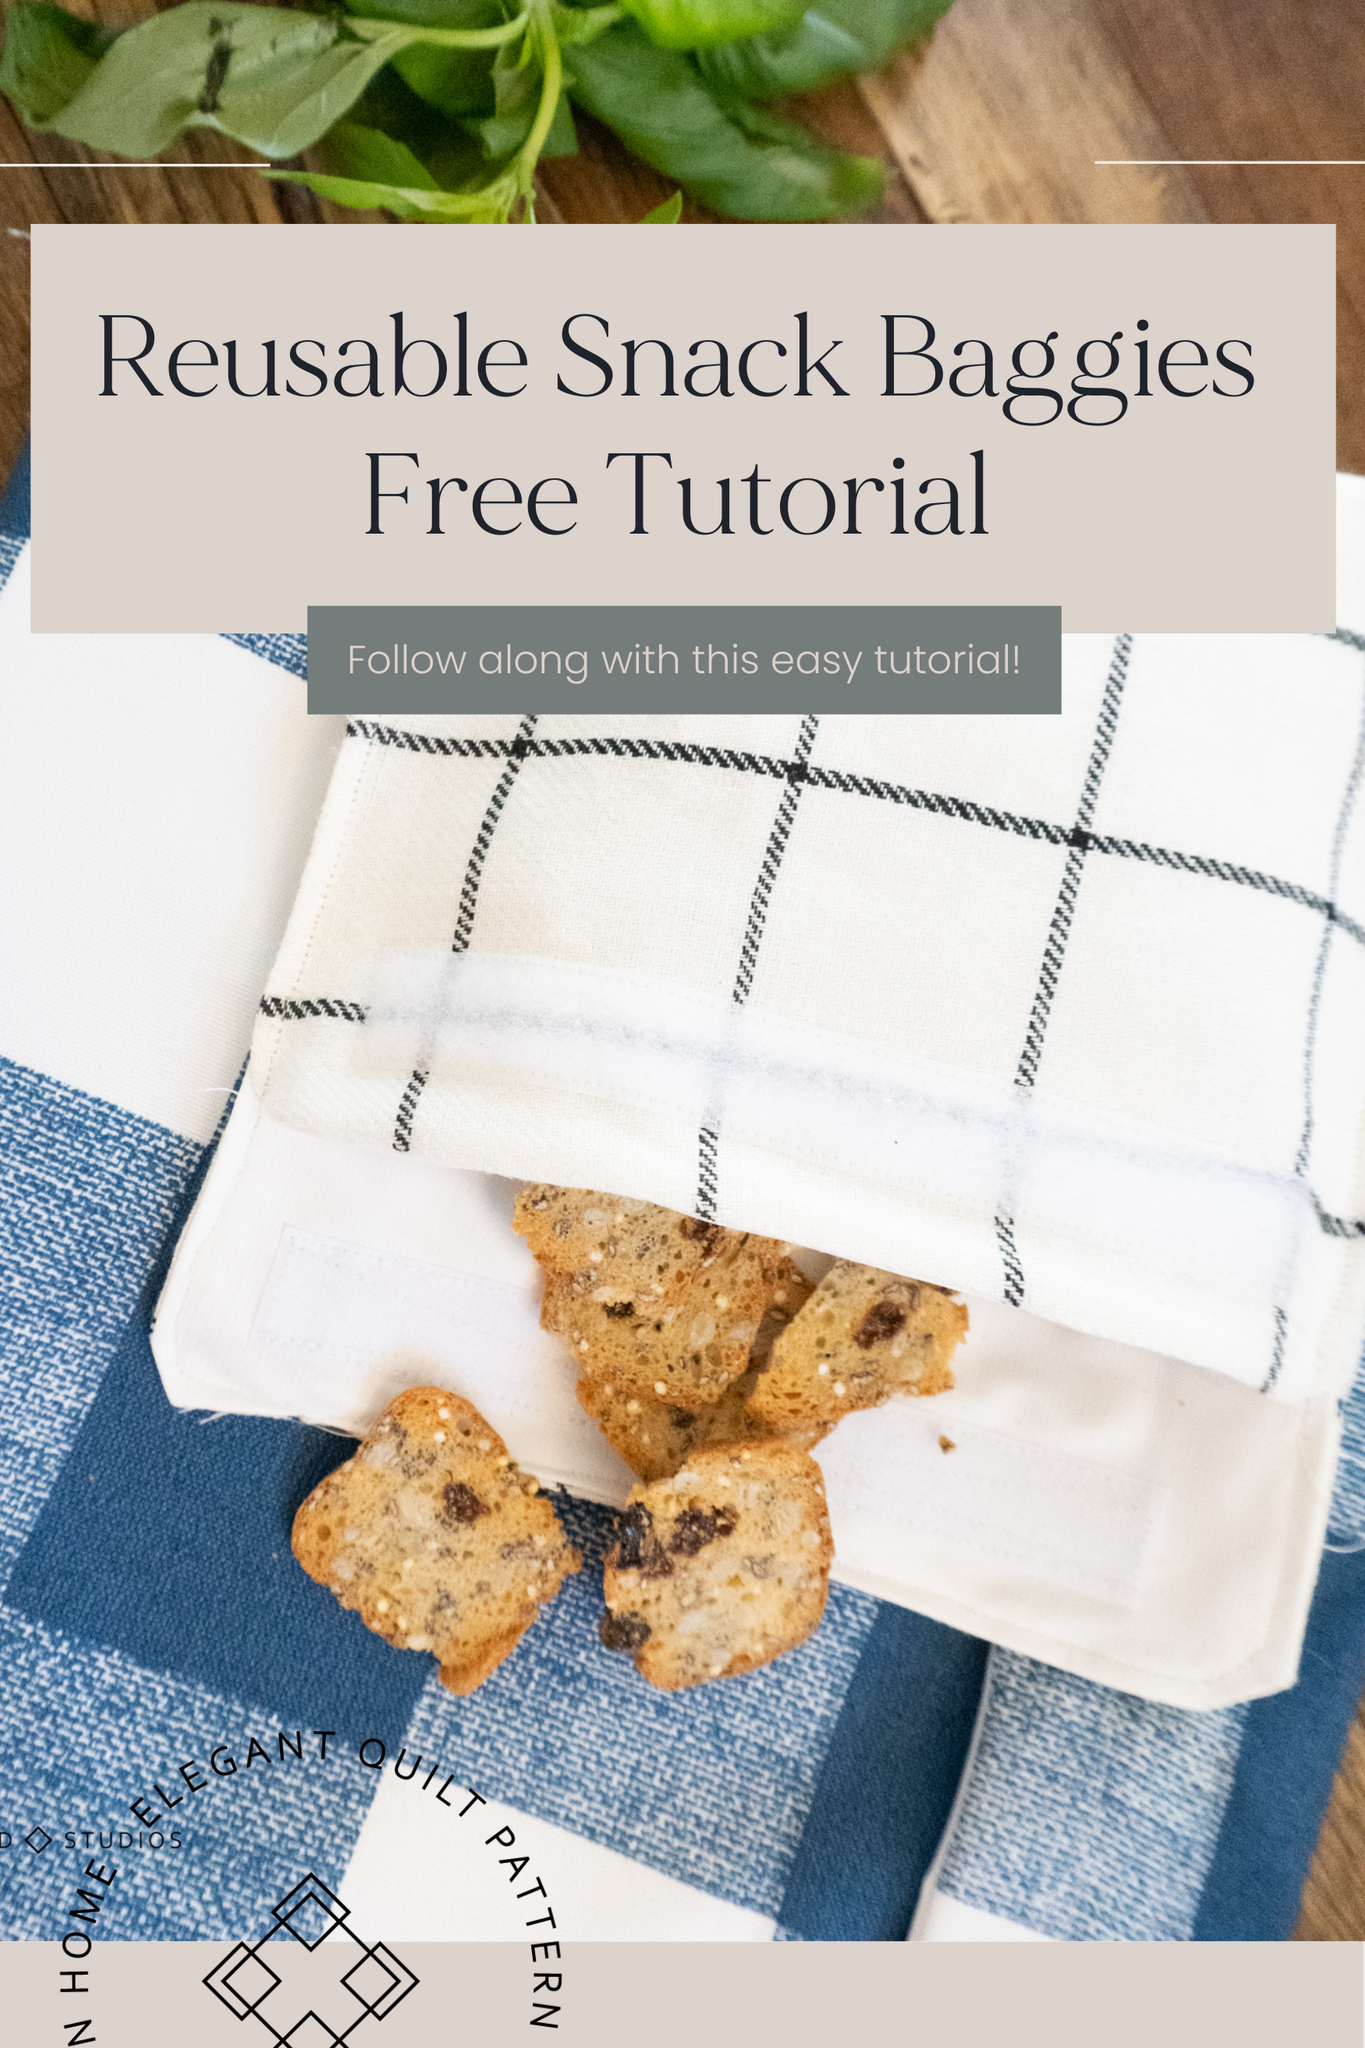
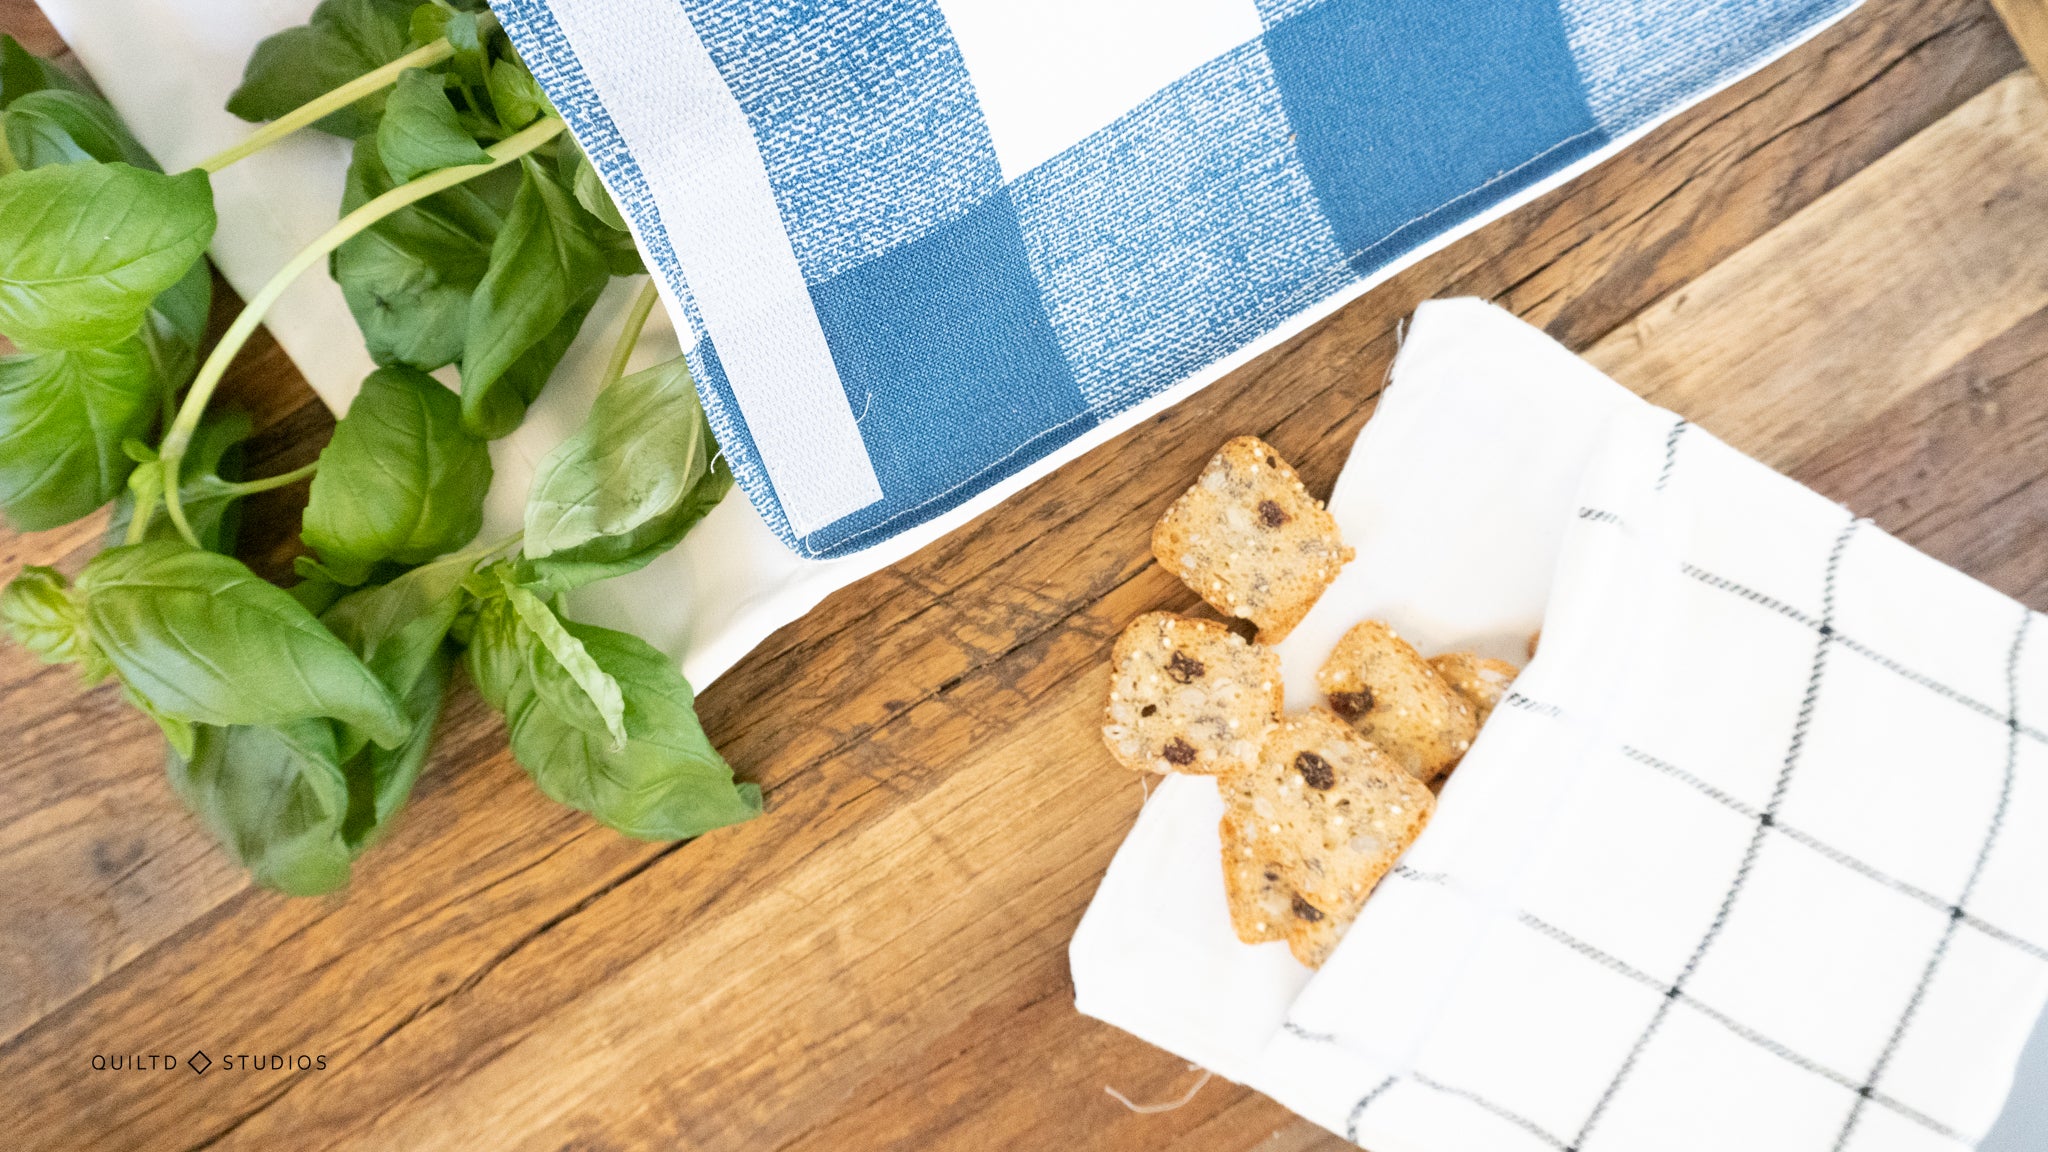
Happy Earth Day! To celebrate this wonderful month, follow this easy tutorial on making reusable sandwich and snack bags.
Not only are fabric snack bags fast to make, but they’re so much better for the earth than one-use plastic baggies.
And as a mom of two, I go through A LOT of baggies.
I’ve slowly been trying to reduce the amount of plastic and foil that we use as a family, and this was a perfect way to do that. (I also started using these as well!)
I can’t wait to share more about these cute baggies, there are three sizes: snack, sandwich, and gallon.

Supplies Needed:
- .5 yard fabric for outside of baggie
- .5 yard Procare food-safe fabric
- Hook and loop fastener strips (6"-10”)
A Note on Fabrics
Fabric that constantly comes into contact with food should be “food-safe.” Procare fabric is specifically formulated for this:
However, it can be a bit difficult to come by (I ordered mine directly from their website).

If you feel comfortable, you can use any other type of waterproof fabric or even just normal fabric for dry snacks.
If you’re worried about chemicals or other ingredients, be sure to check the fabric before using it as a bag.
For outside fabric, consider using repurposed fabrics or fabrics from your stash for extra earth day fun.
Make sure to read through the entire directions before beginning.
Cutting The Fabrics
Snack bag
- Outer Fabric - (1) 7.5” x 10” rectangle
- Lining Fabric (procare) - (1) 7.5” x 10” rectangle
- (1) 6” strip of hook and loop fastener
Sandwich bag
- Outer Fabric - (1) 8” x 16” rectangle
- Lining Fabric (procare) - (1) 8” x 16” rectangle
- (1) 6” strip of hook and loop fastener
Gallon Bag
- Outer fabric - (1) 12” x 26” rectangle
- Lining Fabric (procare) - (1) 12” x 26” rectangle
- (1) 10.5” strip of hook and loop fastener

If you would like to have rounded corners grab a rounded object and trace around the corners of one end of the rectangles before sewing.
Reusable Snack Bag Sewing Instructions
Sew the outside rectangle and the lining rectangle right sides together, making sure to leave a small hole to turn the bag right side out.

Note: I used clips after realizing that the pins made little holes in the lining fabric, up to you what you use!
To remind myself to leave a hole, I usually clip/pin around the perimeter and then leave the hole section open.

For the rounded corners, sew following the rounded line that you made earlier.
 Once you’ve sewn around the perimeter, trim the corners and cut small triangles out of the seam allowance around the corners so they lay flat.

Pull the long rectangle right side out through the hole. Feel free to iron flat at this step.
Tuck .25" of the fabric in the hole into itself to create a seam allowance and sew down the outside to close it.

Attaching the Hook and Loop Fastener Strips
Clip into place the strip of hook and loop and sew one strip on the outside fabric about .5” down from the top of the square corners (the bottom that we sewed shut).
To sew the fastener, I first sewed the perimeter and then did a giant "X" to make sure it wouldn't pull up.
Fold the baggie over on itself so the outside is facing out and there is 2” of outside/lining bag showing at the top (rounded corners).
Sew another strip on the flap on the lining about .5” down from the top.
 Make sure the bag is right side out and sew a line down both sides starting at the to secure the sides of the snack bag.


And now the reusable baggie is complete!! Have fun making lots more, because they are addicting, and super fast to make!
Pop any questions or comments into the comments, and of course share your cute bags on social media with me by tagging
Happy Earth Day!


6 comments
Thanks for your tutorial, it’s interesting for a little travel.
———
Quiltd Studios replied:
So glad you enjoyed it, my little girls love their little fabric baggies :)
Kind of you to make this pattern available for free. Thank you.
Not to nit pick, but the name “Velcro” is not copyrighted. It is not an original creative expression, which is what copyright covers. It is trademarked, which is the protection given to brand names.
You do realize that other companies make and sell hook and loop tape, right? Would you list in your supplies list “Aurafil” or thread? Or perhaps you would list “rhymes with Faurafil”?
———
Quiltd Studios replied:
You are correct it’s a trademarked name, I included a rhyme because a lot of beginners don’t know what “hook and loop closures” are, at least I didn’t when I first started!
You did use the copyrighted name of the hook and loop tape in cutting instructions if that’s a problem….. No need to post this, just want you to fix if it’s a problem before it’sa big problem
———
Quiltd Studios replied:
Hahah I’ll fix that right now, good catch!!!
I love this pattern. Much easier than others I have tried and thanks for including the information to make larger ones. I use the plastic shopping bags that we all had to get during COVID 19 since I had several hundred as we could not reuse bags for a long time. They hold up in the washer and dryer just fine.
How wonderful! I am going to make several of these for friends and our own household. They will be very handy.
———
Quiltd Studios replied:
They are so easy to whip up! And I’ve heard you can even wash them in the dishwasher, I’ll have to try it and update the post :)